
TDD Seaside Sailor Sew-a-long links:
Day 1: Preparing the Pattern
Day 2: Cutting Out and Collar Assembly
Day 3: Sewing the Bodice
Day 4: Preparing the Skirt
Day 2: Cutting Out and Collar Assembly
Day 3: Sewing the Bodice
Day 4: Preparing the Skirt
Day 5: Putting it all together (that's today)
Throughout the week we have assembled each component of the Seaside Sailor dress. Today we will put each component together and add the finishing touches. At the end of today you will have a completed dress! Let's get started!
The order of construction is going to be a little bit different for Baby and Girls sizes today. If you are making a girls size dress we need to sew the buttonholes before attaching the skirt. We will reverse that order though for baby dresses, we will attach the skirt and then sew buttonholes.
Let's start with marking your buttonhole placement on girls dresses. Mark your buttonholes according to the pattern placement instructions. Once again I used my Frixon pen and ruler. I love the sharp line I get from Frixon pens and how they 'magically' erase with steam!

 I know buttonholes can be intimidating, but really, just a little practice and you'll have them down in no time. Each machine is a little different so refer to your owners manual (or the power of Google) for specific set up instructions. A little stabilizer behind your buttonholes can help make sure your buttonholes stitch out evenly and are nice and crisp. I use a water soluble stabilizer but tear away also works. In a pinch (and how I made buttonholes before tearaway stabilizer was readily available!) a piece of notebook paper works too! If something does go wrong in stitching your buttonhole, don't worry! They can be taken out with a seam ripper before cutting them open. I wasn't happy with how the first one stitched on this dress and took it out. I don't make a habit of it, but sometimes it's necessary.
Buttonhole feet for you sewing machine are all a little different, but essentially work the same way. The foot for my Pfaff has magnets that insert in the back matching your button size. My Brother foot actually holds the button in the back of the foot.


Regardless of whether you are a buttonhole novice or a pro, it is always a good idea to try your buttonhole on a scrap to check the size before stitching on your dress. This gives you a chance to make sure your machine is stitching properly and to check the size of your buttonhole.
Okay, go ahead and mark your three buttonholes on the bodice of your size 2-10 dress. You've checked your size, now stitch your buttonholes on your dress.
Now to open them. I open buttonholes with a seam ripper. I know some would disapprove, but it is how I've always done it. Here's a quick run down of how to do it and make sure you don't rip to far!
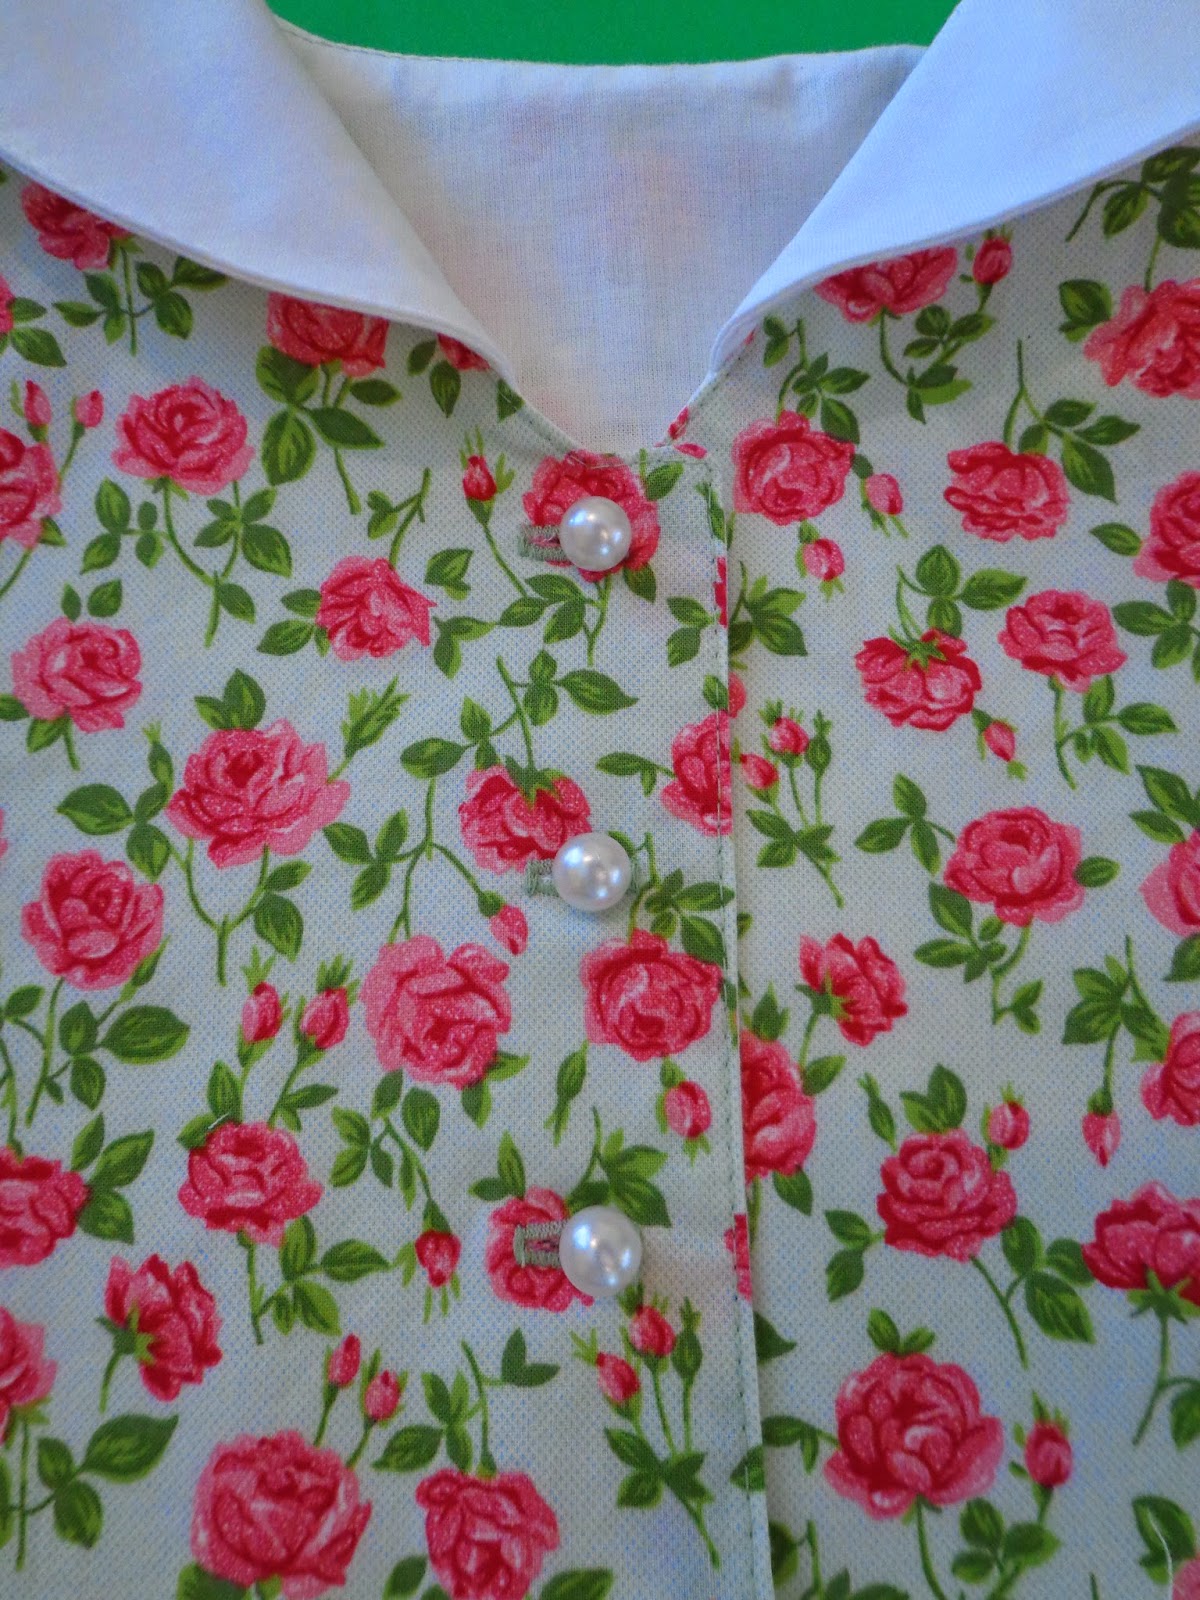
Now mark your button placement according to the pattern and sew your buttons. This can be done my machine or hand. I like to stitch them on with my machine when possible. To do this (do you know what I'm going to say yet?) I use glue! Not white glue this time, but a washable glue stick. It will stick your buttons to your bodice so they don't move while positioning under the presser foot. Do make sure that you lower your feed dogs before sewing on a button.
If you are using shank buttons they cannot be sewn with a sewing machine and must be sewn on by hand. See the photos below to see shank style buttons on my 'fancy' dress. Next add the loop for your ties according to the pattern. For my 'fancy' version I used ribbon instead of a fabric loop and stitched inside the loop instead of on top. The stitching was a little fussy, but perfectly doable.
The order of construction is going to be a little bit different for Baby and Girls sizes today. If you are making a girls size dress we need to sew the buttonholes before attaching the skirt. We will reverse that order though for baby dresses, we will attach the skirt and then sew buttonholes.
Let's start with marking your buttonhole placement on girls dresses. Mark your buttonholes according to the pattern placement instructions. Once again I used my Frixon pen and ruler. I love the sharp line I get from Frixon pens and how they 'magically' erase with steam!
I know buttonholes can be intimidating, but really, just a little practice and you'll have them down in no time. Each machine is a little different so refer to your owners manual (or the power of Google) for specific set up instructions. A little stabilizer behind your buttonholes can help make sure your buttonholes stitch out evenly and are nice and crisp. I use a water soluble stabilizer but tear away also works. In a pinch (and how I made buttonholes before tearaway stabilizer was readily available!) a piece of notebook paper works too! If something does go wrong in stitching your buttonhole, don't worry! They can be taken out with a seam ripper before cutting them open. I wasn't happy with how the first one stitched on this dress and took it out. I don't make a habit of it, but sometimes it's necessary.Buttonhole feet for you sewing machine are all a little different, but essentially work the same way. The foot for my Pfaff has magnets that insert in the back matching your button size. My Brother foot actually holds the button in the back of the foot.
Regardless of whether you are a buttonhole novice or a pro, it is always a good idea to try your buttonhole on a scrap to check the size before stitching on your dress. This gives you a chance to make sure your machine is stitching properly and to check the size of your buttonhole.
 |
| My first buttonhole was bigger than I wanted so I made another one a little smaller. Perfect! |
 |
| Marked |
 |
| The pin helps me line it up under my presser foot in the right spot. |
 |
| Hard to see here, but I can see the pin in the opening easier than a pen line. |
 |
| Congratulations! It's done! |
Now to open them. I open buttonholes with a seam ripper. I know some would disapprove, but it is how I've always done it. Here's a quick run down of how to do it and make sure you don't rip to far!
 |
| I line the back of the buttonhole with a bit of Fray Check and let it dry. |
 |
| Place a pin at one end inside the end tack. This will prevent you from ripping too far! |
 |
| Insert your seam ripper in at the other end. I rip about half way and then move my pin to the opposite end and rip the other direction, meeting in the middle. |
 |
| Your buttonhole is now open! |
 |
| Use small scissors to trim any excess little threads. |
 |
| And my awesome, behind the scenes little man who helped me when I needed both hands! |
 |
| If you have a foot like this it is designed just for sewing on buttons. If not, a regular presser foot will also work. |
 |
| When machine sewing on a button it is essential to add a spacer in between your button and buttonhole. If you skip this step your button will be too tight to accommodate the thickness of the buttonhole. |
 |
| Heat seal the ends of your ribbon to prevent fraying |


Okay, we are ready to add our skirt! For girls sizes baste the front button overlap close to the bottom edge of the bodice. Yesterday you prepared the skirt including sewing your gathering threads. When gathering you can divide your bodice and skirt into quarters and match the quarter points, then gather. This makes sure that your side seams are matched up and your gathers will be evenly distributed.

 |
| Baby sizes will be flat as it buttons down the front. |
 |
| Girls sizes form a loop. |
For baby dresses make sure that your lining is out of the seam allowance. You can pin it up so you don't have to worry about it. Also, take care to precisely match the skirt and bodice edges so that they line up perfectly.


 |
| A good way to gathering threads is by wrapping in a figure 8 around a pin. |

When sewing the baby version, pull the lining out flat as seen below at the beginning and end of stitching to make sure that you don't accidentally catch the lining in your first few stitches.

After stitching flip the seam up and bring the lining down to cover the seam. There is no need to finish the seam on baby dresses as it is enclosed in the lining.


Stitching the lining in place can take a little practice and care, but you can do it! Jen's not-so-secret trick is Wash Away Wonder Tape. Mine is, you guessed it, glue! A little glue stick or white glue will hold your lining securely in place. If using white glue simply set it with a dry iron.


A good way to check that your lining is indeed covering the bodice seam is to place some pins right at the seam line and make sure that your lining is caught on the back side.

For Girls sizes the bodice lining is stitched to the skirt with the bodice. Finish your waist seam with a serger or other finishing method and press the seam towards the bodice. For both sizes, topstitch the edge of the bodice close to the skirt seam.


Dresses size 2-10 are now complete! Give it a final pressing and stand back to admire!

If your dress is 0-24 months now is the time to edgestitch the front of your dress and around the collar (pg 12 of your instructions), and then sew your buttons and buttonholes. Mark your buttons and buttonholes according to the pattern guidelines. If you added hem pleats you may need to adjust the position of your bottom button to accommodate the pleats. Then scroll back up to the top of this post and follow the same guidelines given there for stitching both buttons and buttonholes.
Finally we are ready to sew the baby bow! If you have made your own version of my 'fancy dress' and would like the lace detail similar to the one on girls sizes consider a simple lace bow. Here I simply tied a bow from 1 1/2" lace. To attach tack through the center of the bow. This will keep the bow from coming untied.

For a traditional sailor bow follow the instructions provided in your pattern. Make sure that you clip and notch in all the right places for a crisply turned tie.

Turning this tiny tie can take a little patience. Start by pulling apart the end opposite the opening left for turning and pushing the bow inside.


Use a long thin object to help push the fabric toward the opening.


When it is pushed in far enough, use your fingers or tweezers to grab the bow and gently pull it through.

Use your tweezers or other small pointed object to help poke out the edges. Then use your fingers to roll the seam right to the edge. Press well with your iron.

Topstitch close to the edge and over the opening used for turning.


Now it is ready to attach to the dress! Refer to page 14 of the pattern for placement and attachment.
The bow is tied in a simple overhand knot. Hold the bow tail that started on top (closest to the collar).
 |
| Fold down |
 |
| Tuck under |
 |
| Wrap over |
 |
| Pull tight |
Whew! Congratulations! You are done! Pat your self on the back! Little details sometimes take a lot of time, but really make the dress stand out! Press your dress and admire!
Make sure you check in on the daily thread in the Tie Dye Diva Sewing Pattern group on Facebook. Ask your questions there so that we are sure to see them quickly. Jen, Erica and myself will be ready to help all we can! I can't wait to see your finished dresses! Here are the ones that you have seen in pieces throughout the sew-a-long!


Comments