- Get link
- X
- Other Apps
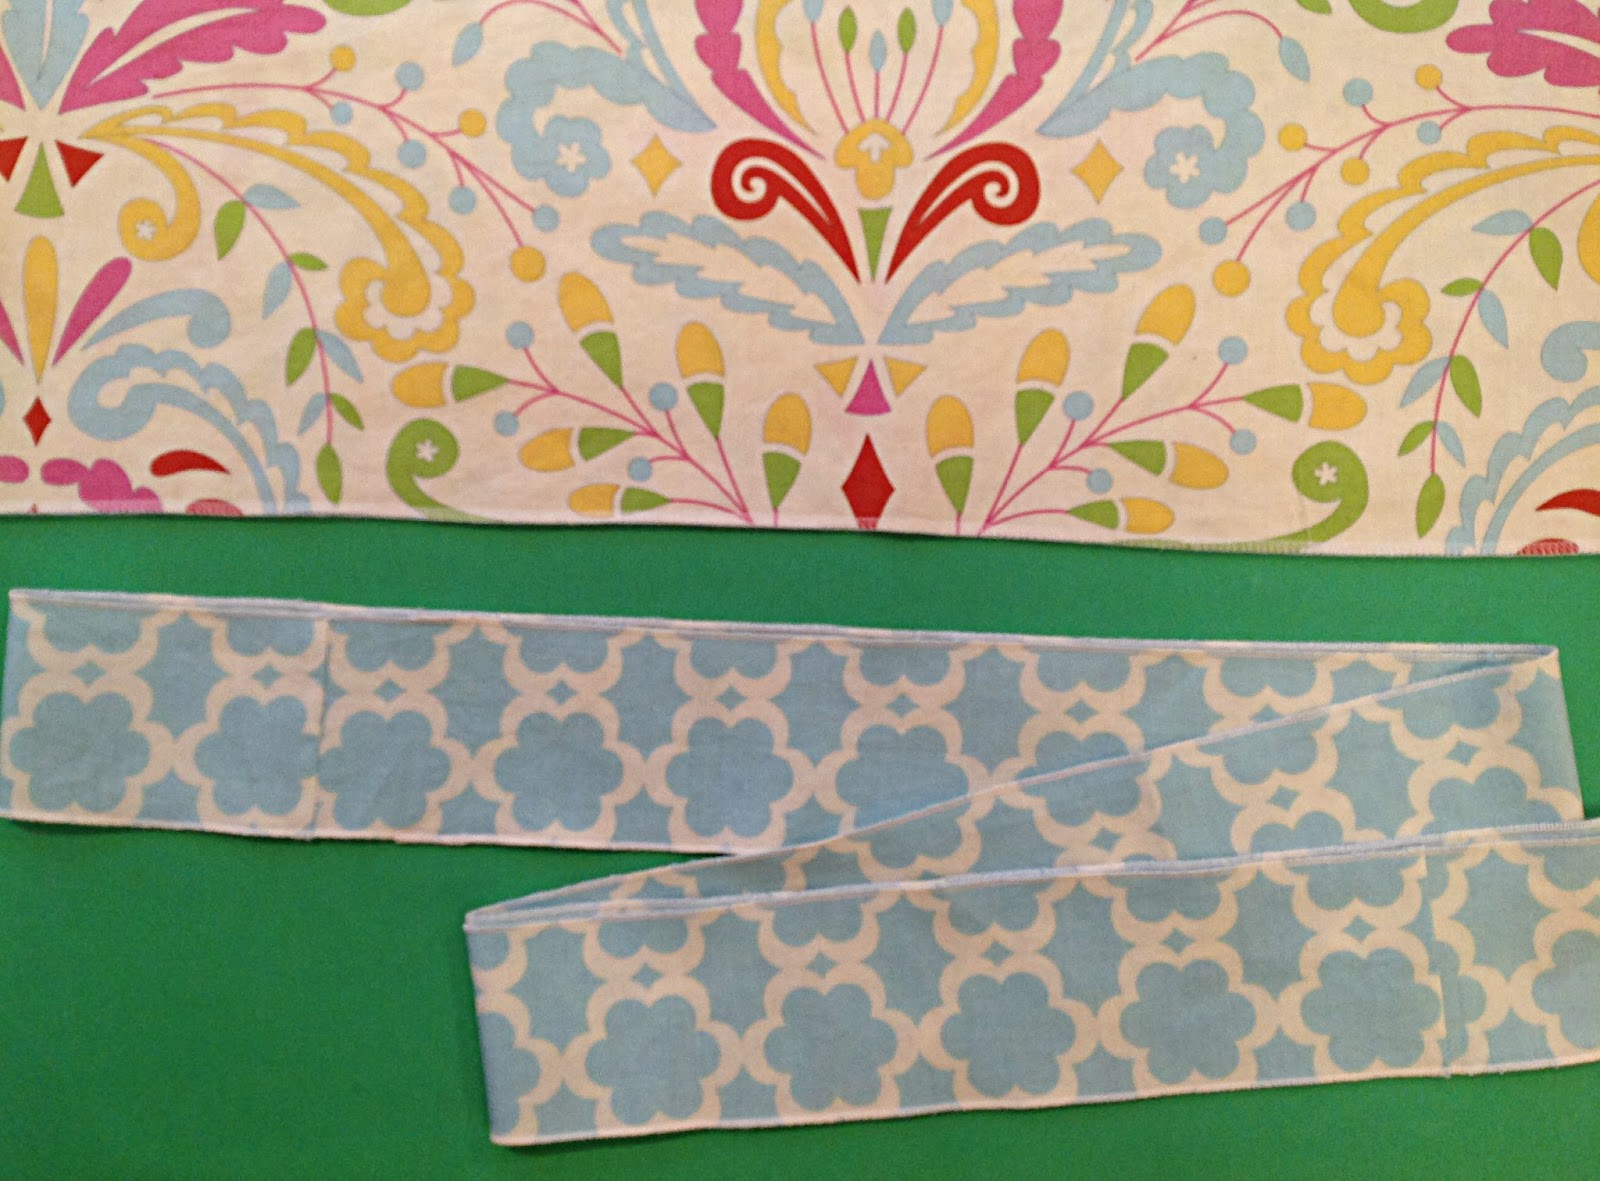
Welcome back as we resume A Year of Dresses! I've lost track of weeks, but A Year of Dresses started at the end of April 2014 with this Big Bow Dress and has continued every week (with the exception of December's hiatus). We will pick up again now and plan to finish strong through April. I'm so excited about the dresses I have planned for you. Spring is such a fun season to sew for! With that, let's look at this week's beautiful Butterfly Dress.
The Butterfly dress is one of those patterns you never get tired of making. A change of fabric selection and placement can make an entirely different looking dress from the last one you made. This is my fourth butterfly in the last year and I can't wait to make the fifth!
Before we jump in, let's look at the pattern details. The Butterfly pattern is available in both baby and girls sizes with slight variations. The baby pattern covers sizes 0-24 months and is top length, while the girls sizes include sizes 2-8 and is dress length. Don't forget about Dolly Butterfly too, every girl needs a matching dolly dress! To read more about the baby top and how to modify it to dress length read my Butterfly Baby post.
While it may look like I've jumped into spring in the middle of winter (how I wish I could!) the Butterfly dress is one of the most versatile patters around! Will this dress be beautiful for spring and summer? Most definitely! But Sweet Pea can also wear it now and be cheery in winter. This pattern layers beautifully!
We love boots with our dresses! Add a long sleeve tee underneath and tights. She's ready to go! Make sure you check out Jen's post, Boots and Dresses Roundup, for more winter fashion ideas.
I've made several small adaptions to this Butterfly dress. None of them are difficult and they add some fun variety to your butterfly dress.
First, I lined the flutters. I love the extra peep of color that this gives! I have seen several Butterfly dresses made this way by the fabulous seamstresses in our Tie Dye Diva Facebook Group (come and join us!) and wanted to try it myself as well as show you how simple it is.
To make lined flutter follow theses simple steps:
- cut two flutter from your main fabric as per the pattern and also cut two more flutters from your liner fabric.
- Sew the flutters with a 1/2" seam allowance, right sides together, along the curved edge (where you would otherwise hem). Trim the seam allowance to 1/4" and notch the curve.
- Finally, turn you flutter right side out, press making sure the seam is right at the edge, and topstitch. You can now continue as per the pattern. Do take care when gathering as you now have two layers to gather instead of one. I used the two gathering thread method, but zig zagging over heavy thread would also be a good option. Read The Great Ruffle Off for details on multiple gathering methods.
Second, I made the skirt ever so slightly fuller. I really did this because it made my inefficient use of fabric (fussy cutting the front skirt) slightly more efficient by not leaving an unusable scrap. Here's what you need to know:
- Begin by cutting your skirt front and back the length directed in the pattern by your desired width.
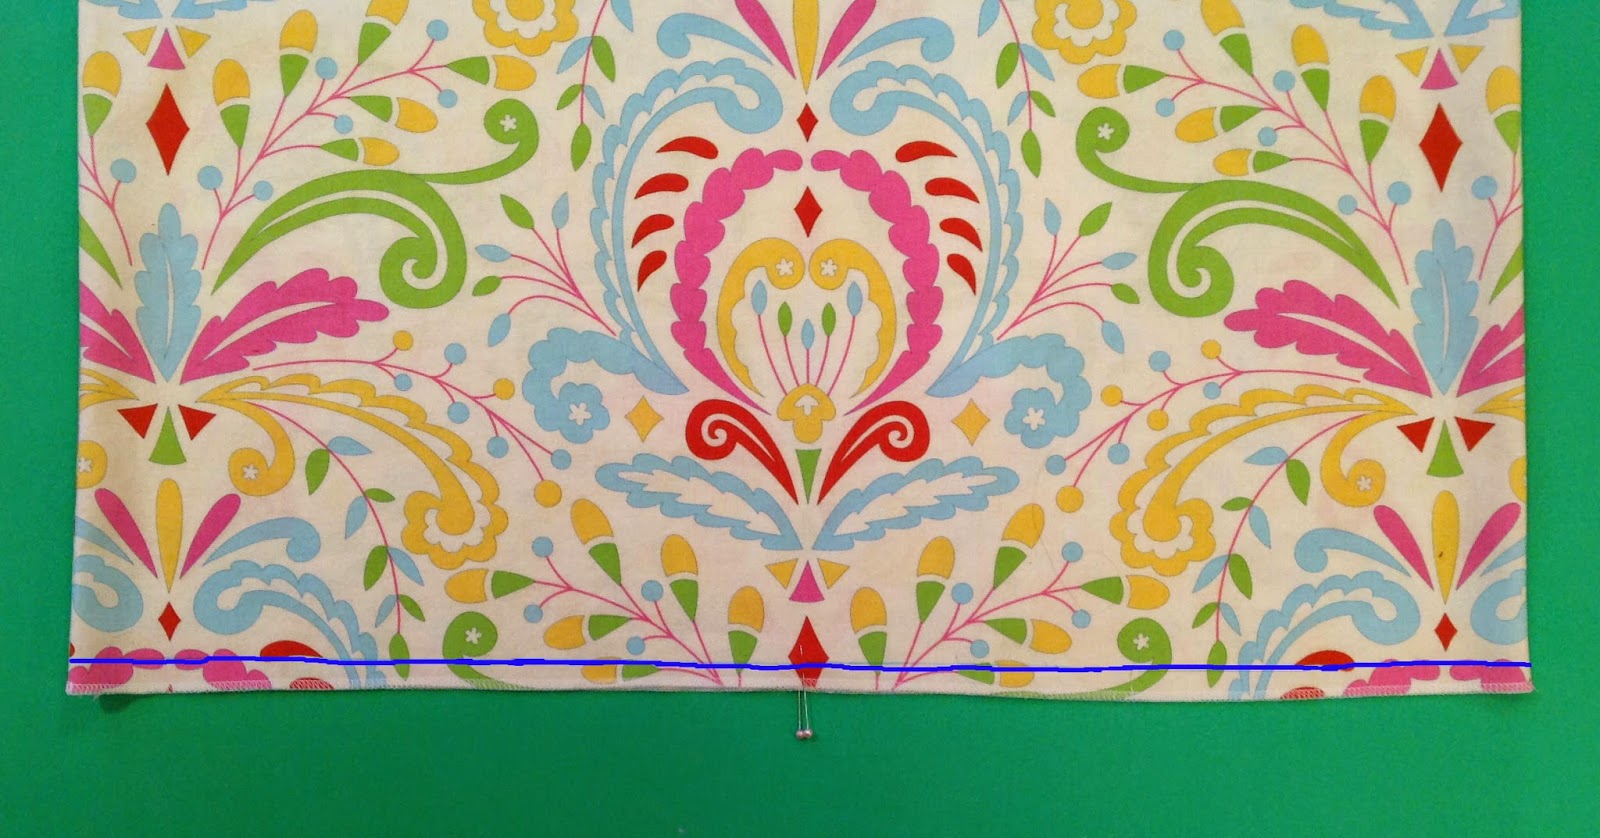
- Grab your pattern piece for shaping the top of the skirt. and line it up on the folded edge. make a mark with a fabric marking pen on the cutting line. Then slide the pattern piece over to the non-folded edge.
- Draw a line with fabric pen to connect your mark from above with the pattern piece (look closely and you will see a light blue line in the picture above). Now cut. Easy peasy!
- Remember to also cut your ruffle strips wider match the skirt.
Third and finally, I modified the hem ruffle just a bit. Instead of sewing the ruffle as a seam I left the top edge exposed also. There are a couple steps to doing this, but it's very easy!
- Finish both edges of your ruffle. I used a rolled hem (trim 1/2" from the bottom edge as you serge, but do not trim the top edge). Also, serge (or zig zag) the bottom of your skirt to finish the edge.
- With a fabric marking pen draw a line 1" from the bottom edge of your skirt. Confession, mine is drawn at 3/4" to give Miss Growing Like A Weed just a little extra length (so this beauty will still fit come summer!) But, to keep the pattern's dress length, mark at 1".
- Now gather your ruffle strip. I again used the two thread gathering method. Line the top edge of the ruffle up with the line marked on your skirt and pin in place. Stitch in place 1/2" from the edge and remove your gathering threads.
- I also added rickrack (simply topsitiched directly over the first sewing line.) That's it, a beautiful exposed ruffle!
I can't say enough how pleased I am with the outcome of this dress. The bodice embellishment options are endless, but I kept with the tuxedo ruffle finished with a couple simple buttons for this dress.
I've been saving my beautiful Kumari fabric for just the right dress and the Butterfly did not let me down! Sweet Pea will wear this dress now, wear it this summer as a sundress, and when it gets short, I'll add leggings and she can wear it as a tunic. Yay!
In case I missed any detail, here's the pattern rundown:

- Baby Butterfly Top in sizes 0-24 months
- Girls Butterfly Dress in sizes 2-8
- Don't forget about Dolly Butterfly!
- Advanced beginner sewing level
- Fully lined bodice
- Button and loop closure in back
- Versitile for every season with layering
- Get link
- X
- Other Apps


Comments