
Welcome to our Daffodil Top Sew Along! Whether you’re looking for motivation to sew each day, camaraderie in sewing, new pattern tips and tricks, or pure simple fun, this sew along is for you.
We will be using the new Daffodil Top pattern for this sew along. If you haven't grabbed your pattern yet, be sure to do that now. Purchase it with the Daffodil Capris in a limited time bundle discount and save 25%. These patterns pair together perfectly! Including sizes 12 months through 9/10, the Daffodil Top pattern will quickly become your favorite Spring and Summer top. It’s not even Spring yet in the Pacific Northwest and Sweet Pea’s closet already has 6 Daffodil’s waiting for warmer weather (and being worn now with a cardigan). Unlined, clean, simple lines and built in cap sleeve will make you reach for this pattern time and again!
 |
| Yes, that's a tulip not a daffodil, but you work with what you've got! |
The Daffodil Top pattern is recommended for advanced beginner or higher sewing levels, but all sewing levels are of course welcome to join the sew along. In fact, the sew along is a great way to get some extra help along the way if you are not confident with the skills required in the pattern.
One of the fun perks of a Sew Along with Tie Dye Diva is some fun extras for the pattern! First, we will show you how to lengthen Daffodil to an adorable a-line dress. Second, we will add inseam pockets to the front princess seams. Finally, we will use the Universal Flutter (downloadable for free in the Tie Dye DIva Facebook Group) with a few modifications, to make an adorable flutter shoulder option. I hope you are as excited as I am!
 |
| How adorable is this Daffodil Dress!? |
 |
| Flutters are so sweet! |
- Monday (today): Print and assemble pattern. Choose fabric and trim as well as decide which, if any, sew along extras you would like to include.
- Tuesday: Cut out. Sew placket, tuxedo ruffle, side seams, and elastic casings.
- Wednesday: Alternate construction of main body for flutter (will also include when and how to add pockets with this construction).
- Thursday: Construct main body of Daffodil and add pockets, plus a look at extra embellishments of the princess seams.
- Friday: Hem and finish neckline
- Saturday: Sharing and catch up. Post your photo in the completed Daffodil folder to be entered to win some great prizes!
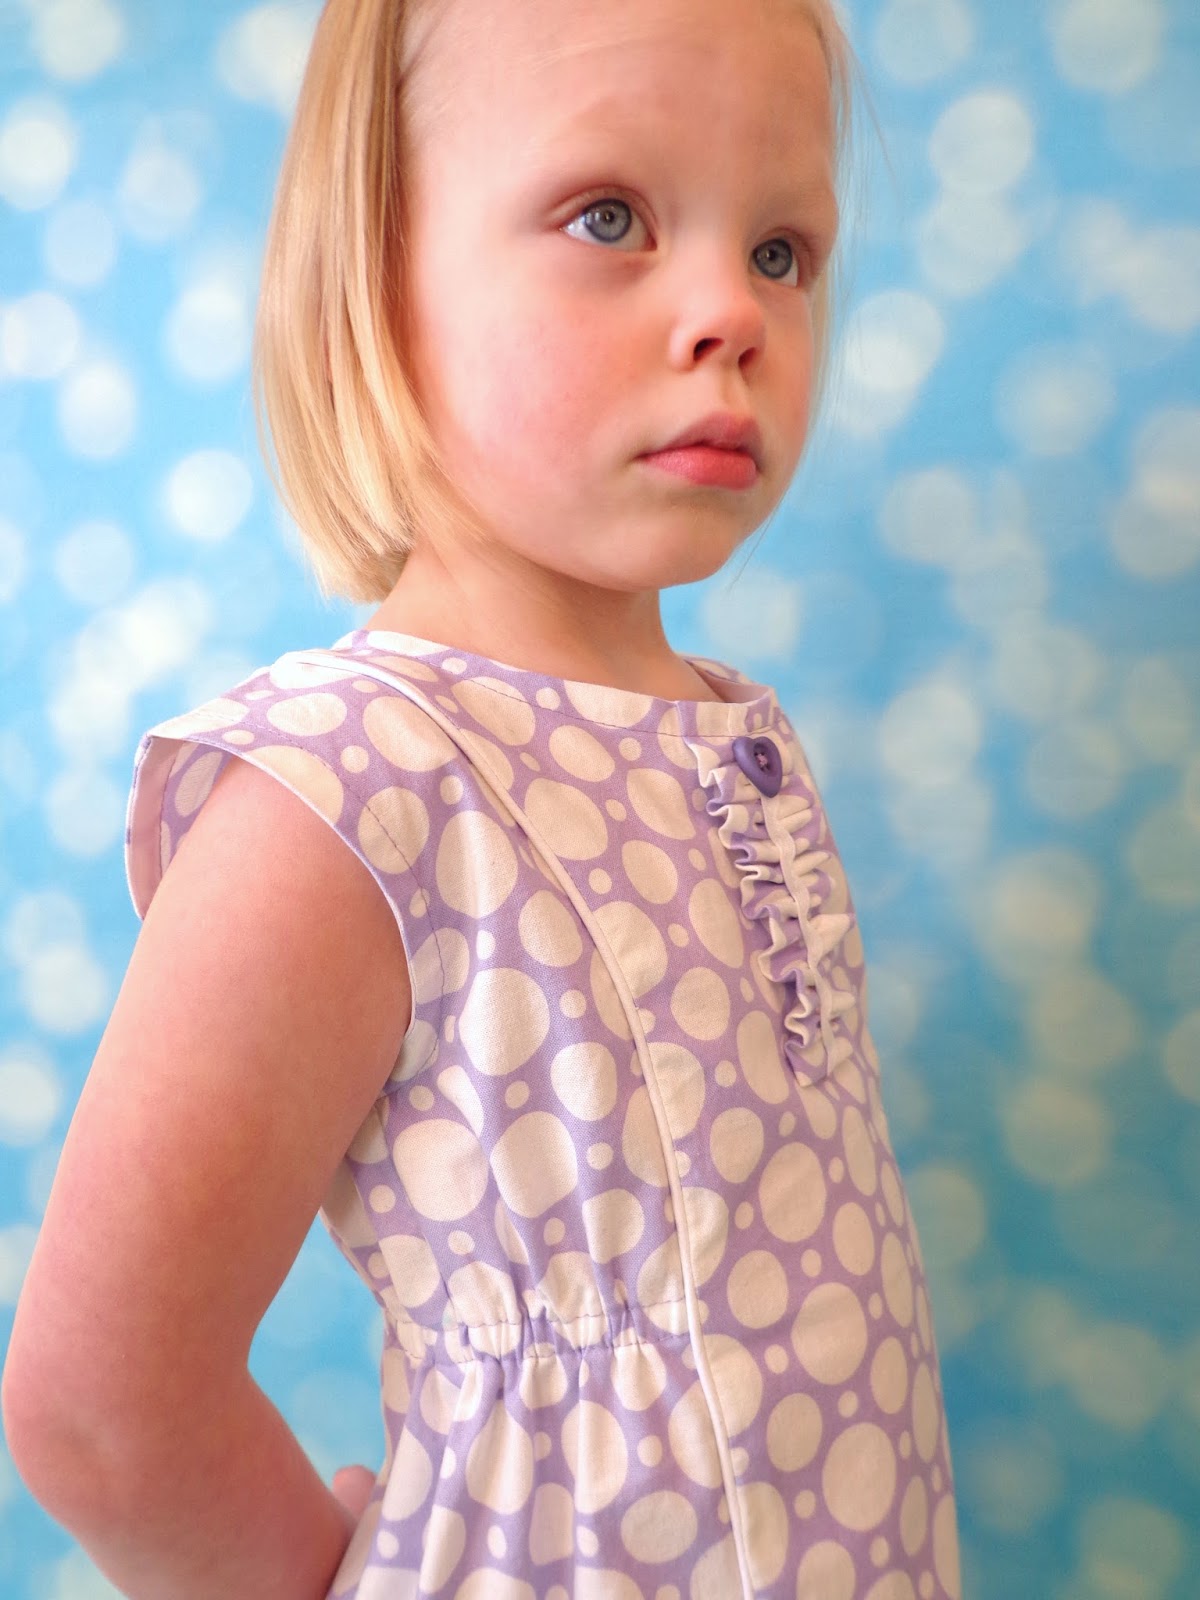


The tuxedo ruffle on the front is optional, but adds a nice accent and frill. When I have left off the tuxedo ruffle I typically still add a little lace or button detail.
Now, let’s print and assemble the Daffodil Top pattern. For sizes 12-18 month through 3, print pages 11-16. For larger sizes print pages 11-19.
Refer to the Tie Dye Diva size chart and determine which size(s) your model falls into. Before adjusting your pattern (if needed), decide if you’d like to make a top or dress length

To make a dress length Daffodil, the lengthening steps are the same. Jen has done all the math for you for an at-knee-length dress. This chart will tell you how much to lengthen each size for a dress length.

If your model wears a different size in length than width, refer to the Finished Top Length chart on page 2 of the Daffodil Pattern. Determine the difference in length between the size needed for width and the size needed for length and add that amount to the extension amount above. For example, Sweet Pea is a size 3 width and size 4 length. The finished length difference between the two sizes is 1" so I added 1" to the "Extended Pattern" measurement above and lengthened the pattern 7" for her dress.
If you’d like to add pockets to your dress (or top) you simply need scraps of material or a coordinating fabric. We will go into more detail on cutting out patterns tomorrow.


Comments