
Raise your hand if turning bias button loops scares you! It's intimidating for many seamstresses to try and turn such a narrow tube, but with a few tips and tries you'll be turning button loop tubes like a pro, and enjoying the professional look that fabric loops give your garment.
Rule for Success #1 - Don't Cheat! You need to cut your strips on the bias, which provides the stretch that is necessary for button loops to stretch over the button and provide the snugness needed to keep the closure closed. You also need that stretch for the tiny tube to turn! So don't cheat, even though cutting on the bias takes more fabric.

For all of these methods, I'm starting with a bias-cut strip 1" wide x 6" long. I fold in in half with right sides together and sew using a 1/4" seam allowance. Then, Rule #2 - trim the seam allowance to 1/8". It's important to reducing the bulk inside, which allows you to turn the tube.

NOW ... the final Rule for Success, #3. Regardless of the method you use, the trick to successfully turning tiny tubes is all in getting them started. When the tube first starts to turn in on itself, it bunches up at the 'working end' and you have to pinch and pull on those gathers that form to help the turning get started. Here's a video from the one and only Tie Dye Diva to help you out:
This shows the safety pin method detailed below, but the technique is the same regardless of method. Here are three different methods of turning tubes, I have used all of them at different times and sometimes it just depends on my mood! Try them out and see which you prefer.
"String Method." This method uses heavy string or yarn to turn the tube. To use this method make a knot in one end of your string (I used crochet thread) and lay it down the center of your bias piece. The knot will catch on the stitches and prevent the string from pulling out.
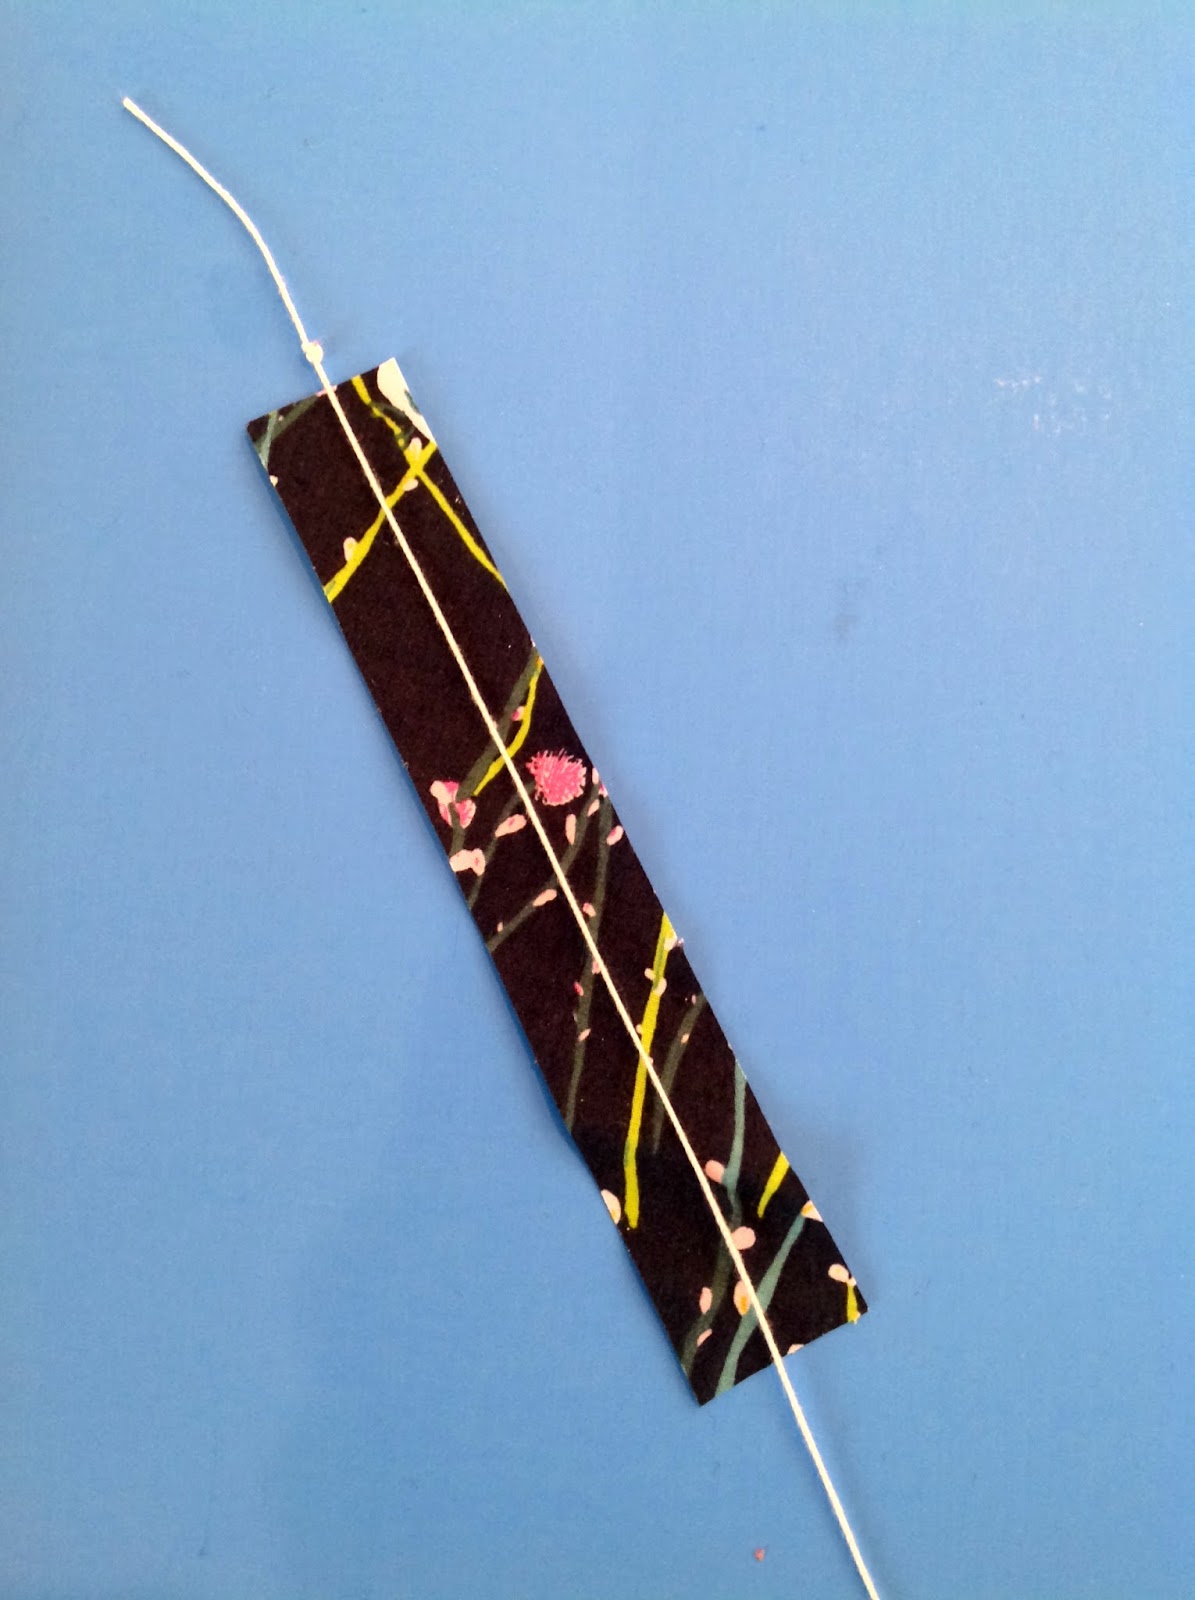
Then fold the tube in half and sew across the end (where the knot is) with small stitches. I go all the way down to a 1.0 stitch length for this. Return to regular stitch length for sewing the side.


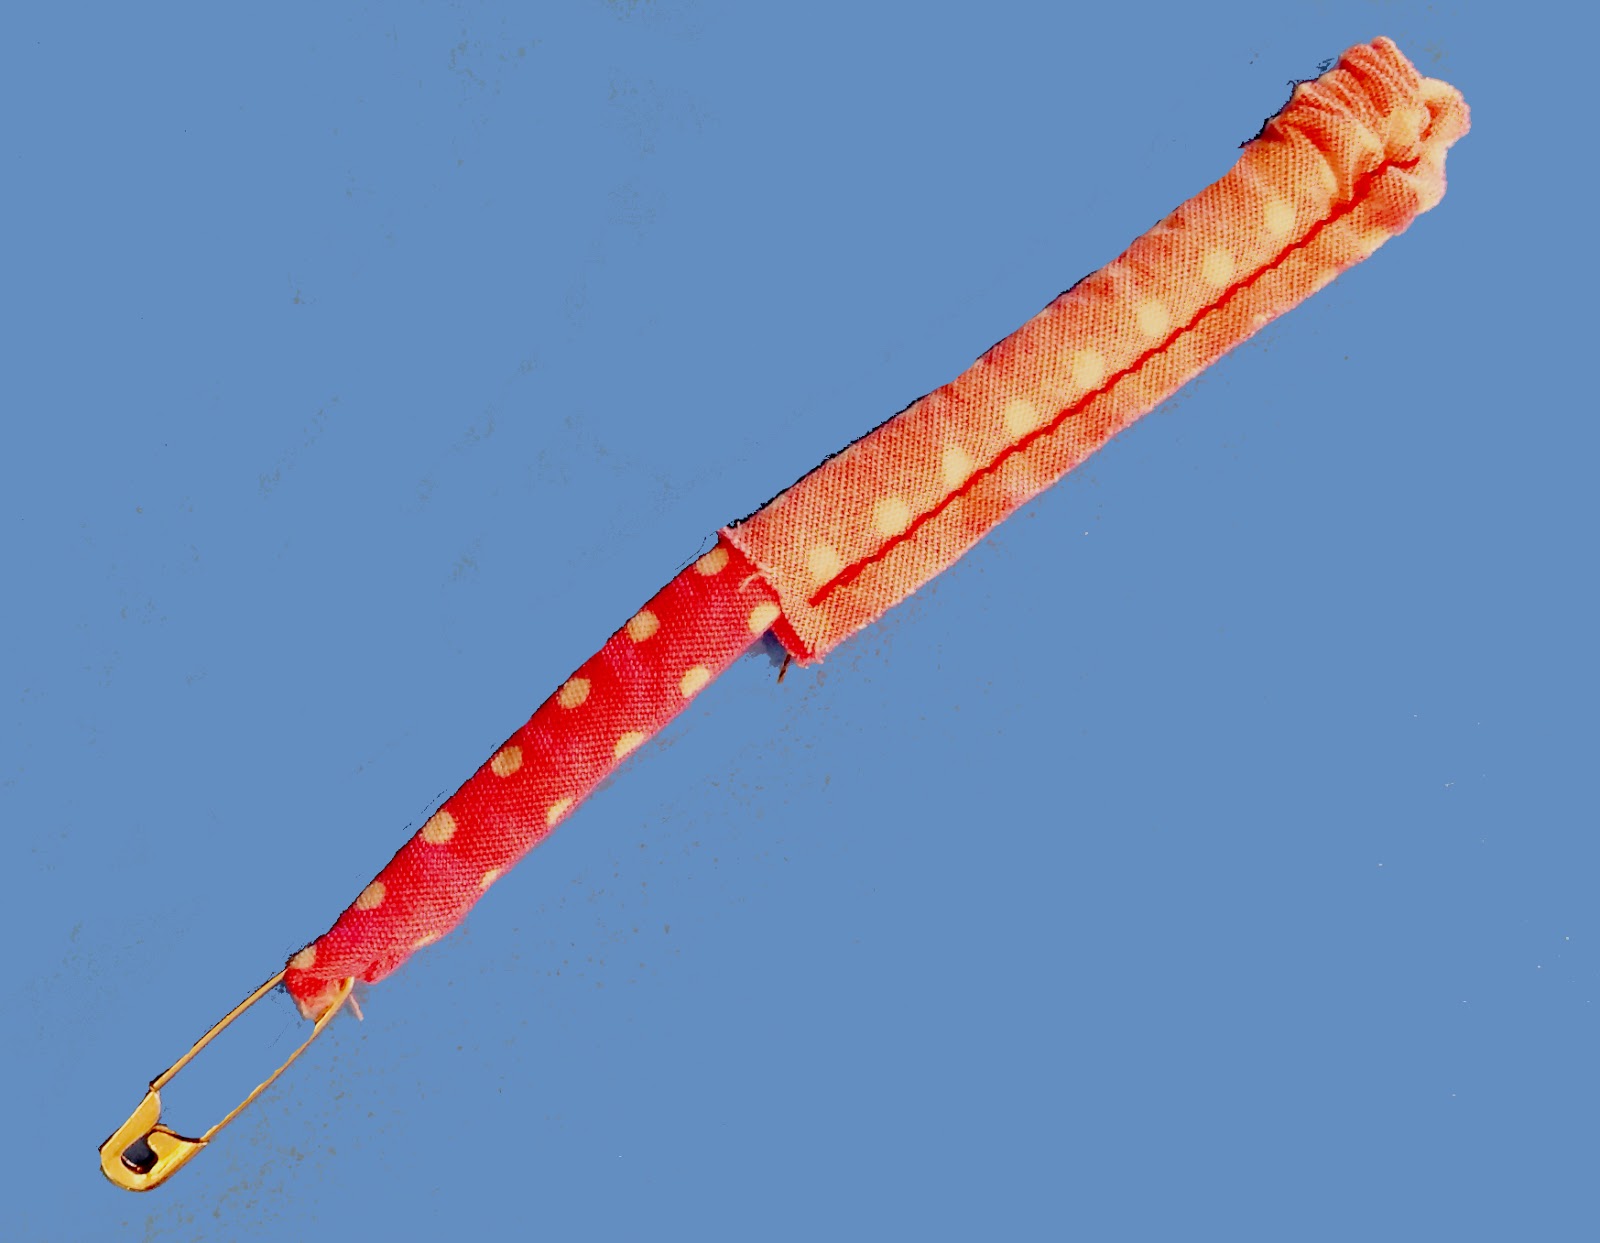
"Safety Pin Method." This is what you see Jen using in the video above and is generally my preferred method of turning. You can buy tiny safety pins (affiliate link), or save them when you buy ready-to-wear clothing - they are often used to hold the tag to the garment or to secure the extra button envelope. For these tiny tubes, you want a pin that is 1/4" wide or less.
To turn a bias tube with a safety pin sew your tube right sides together using a 1/4" seam allowance and then trim the allowance to 1/8". Don't skip that step! Grab your tiny safety pin and pin it first through the outside layer toward the inside.

Close the safety pin and push it head first into the tube.

Pinch and smooth, pinch and smooth until the tube is freely turning.


Prepare your tube in the same manner as the "Safety Pin Method" Then insert the metal turning tube into fabric tube. Finally insert the pointed turner through the metal tube.


Gently pull on the turner and the fabric will slide into the metal tube. This method requires less "pinching and smoothing" but still some.

Simpler 'loop turners' include only the straight shaft with a hook on the end, used in the same manner (shown in the center of the photo below - the long shaft with the ring on one end and crochet-like hook on the other). The Dritz Loop Turner

There you have it, beautiful, easy bias button loops! Each method is equally successful, Give it a few practice runs and see what works best for you.

Several Tie Dye Diva Patterns use bias button loops instead of buttonholes. This is a skill you'll definitely want to master. Once you've given it a few practice runs pick up the Every Day Top Pattern or Butterfly Dress Pattern and put your skills to work!


Comments