
Adding a faux placket to the Potato Chip Skirt pattern is a fun and easy way to add an extra detail to this incredibly versatile skirt. With just a couple simple steps you'll have added a faux button placket and be sewing on your way.

The Potato Chip Skirt pattern features a flat front with elastic back for a sleek look that's easy to fit. Inset pockets store every girl's special treasures. Make your skirt reversible (2 looks in one skirt!), lined, or unlined. With sizes 12-18 months through girls 13/14, you'll grab this pattern over and over for years to come. We bet you can't stop at just one!
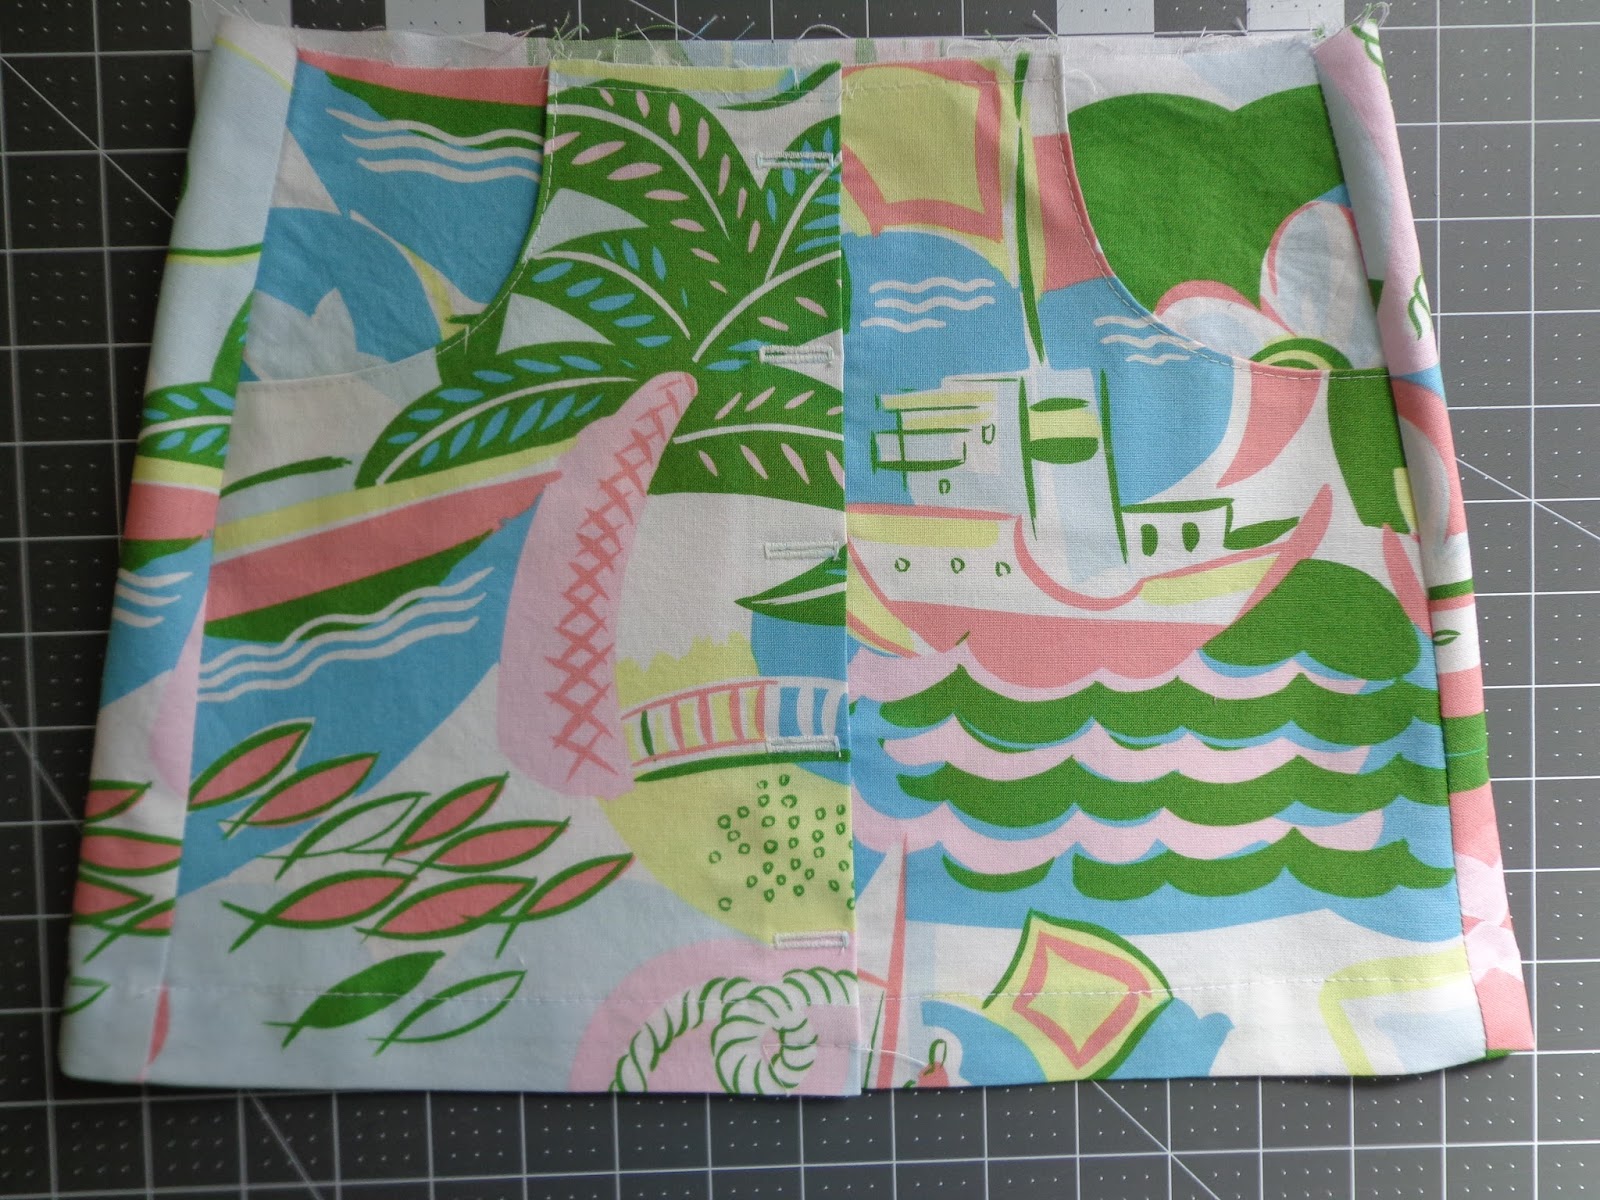
Today I'm using fabric from the Seafarer collection by Anna Griffin. This fabric was generously provided to us by Blend Fabrics so that we can bring you great tutorials like this one.

Let's add a faux placket! While I am using the girls Potato Chip pattern, these same steps can be used to add a faux placket to the women's Chocolate Chip pattern also. To begin we need to add a little extra fabric to the front pattern piece to allow room for the folded packet. To do this move the skirt front piece away from the fold 1". This will add two extra inches to the skirt front and create a 1" finished placket. For larger sizes (7/8 and up) I recommend moving the pattern piece 1 1/2" from the folded edge for a slightly deeper placket.

Mark top and bottom center front of the skirt front piece and mark 1/2" on either side of center (3/4" for larger sizes). This is the folding guide for the placket.


Now we will add buttons and buttonholes. I have added horizontal buttonholes for the aesthetics, however, if you prefer not to add buttonholes, simply skip them and sew buttons. I have used 5/8" buttons and 3/4" buttonholes. If you have made a deeper placket on larger sizes you may use a larger button and buttonhole. Sew buttonholes as previously marked, but do not cut them open. These buttonholes are just for looks! Then sew buttons directly on top and centered on the buttonholes.

Remove the basting thread from the bottom of the skirt (leave it in the top, it will be concealed in the waistband), and finish your Potato Chip skirt per the skirt instructions. You now have a faux placket for a fun new twist on your favorite Potato Chip skirt pattern!


Comments